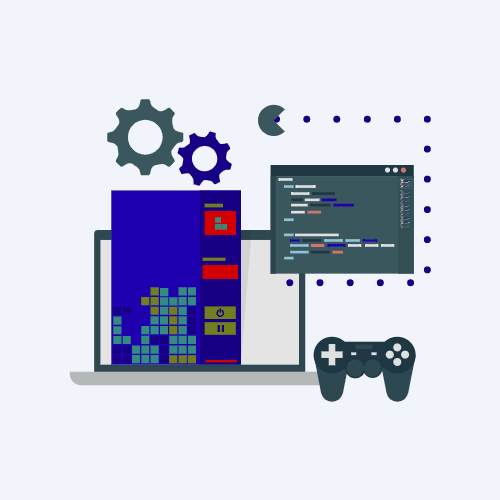
Interactive Animation and Games
Overview
In the Interactive Animations and Games unit, students build on their coding experience as they create programmatic images, animations, interactive art, and games. Starting off with simple, primitive shapes and building up to more sophisticated sprite-based games, students become familiar with the programming concepts and the design process computer scientists use daily. They then learn how these simpler constructs can be combined to create more complex programs. In the final project, students develop a personalized, interactive program.
Big Questions
**Chapter 1 - Images and Animations**
– What is a computer program?
– What are the core features of most programming languages?
– How does programming enable creativity and individual expression?
– What practices and strategies will help me as I write programs?
**Chapter 2 - Building Games**
– How do software developers manage complexity and scale?
– How can programs be organized so that common problems only need to be solved once?
– How can I build on previous solutions to create even more complex behavior?
Lessons
Lesson 1: Programming for Entertainment
The class is asked to consider the “problems” of boredom and self expression, and to reflect on how they approach those problems in their own lives. From there, they will explore how Computer Science in general, and programming specifically, plays a role in either a specific form of entertainment or as a vehicle for self expression.
Lesson 2: Plotting Shapes
This lesson explores the challenges of communicating how to draw with shapes and use a tool that introduces how this problem is approached in Game Lab.The class uses a Game Lab tool to interactively place shapes on Game Lab’s 400 by 400 grid. Partners then take turns instructing each other how to draw a hidden image using this tool, which accounts for many of the challenges of programming in Game Lab.
Lesson 3: Drawing in Game Lab
The class is introduced to Game Lab, the programming environment for this unit, and begins to use it to position shapes on the screen. The lesson covers the basics of sequencing and debugging, as well as a few simple commands. At the end of the lesson, students will be able to program images like the ones they made with the drawing tool in the previous lesson.
Lesson 4: Shapes and Parameters
In this lesson, students continue to develop a familiarity with Game Lab by manipulating the width and height of the shapes they use to draw. The lesson kicks off with a discussion that connects expanded block functionality (e.g. different sized shapes) with the need for more block inputs, or “parameters.” Finally, the class learns to draw with versions of ellipse() and rect() that include width and height parameters and to use the background() block.
Lesson 5: Variables
This lesson introduces variables as a way to label a number in a program or save a randomly generated value. The class begins the lesson with a very basic description of the purpose of a variable and practices using the new blocks, then completes a level progression that reinforces the model of a variable as a way to label or name a number.
Lesson 6: Random Numbers
Students are introduced to the randomNumber() block and how it can be used to create new behaviors in their programs. They then learn how to update variables during a program and use those skills to draw randomized images.
Lesson 7: Sprites
In order to create more interesting and detailed images, the class is introduced to the sprite object. The lesson starts with a discussion of the various information that programs must keep track of, then presents sprites as a way to keep track of that information. Students then learn how to assign each sprite an image, which greatly increases the complexity of what can be drawn on the screen.
Lesson 8: Sprite Properties
Students extend their understanding of sprites by interacting with sprite properties. The lesson starts with a review of what a sprite is, then moves on to Game Lab for more practice with sprites, using their properties to change their appearance. The class then reflects on the connections between properties and variables.
Lesson 9: Text
This lesson introduces Game Lab’s text commands, giving students more practice using the coordinate plane and parameters. At the beginning of the lesson, they are asked to caption a cartoon created in Game Lab. They then move onto Code Studio where they practice placing text on the screen and controlling other text properties, such as size.
Lesson 10: Mini-Project - Captioned Scenes
After a quick review of the code learned so far, the class is introduced to the first creative project of the unit. Using the problem solving process as a model, students define the scene that they want to create, prepare by thinking of the different code they will need, try their plan in Game Lab, then reflect on what they have created. In the end, they also have a chance to share their creations with their peers.
Lesson 11: The Draw Loop
This lesson introduces the draw loop, one of the core programming paradigms in Game Lab. Students learn how to combine the draw loop with random numbers to manipulate some simple animations first with dots and then with sprites.
Lesson 12: Sprite Movement
In this lesson, the class learns how to control sprite movement using a construct called the counter pattern, which incrementally changes a sprite’s properties. After brainstorming different ways that they could animate sprites by controlling their properties, students explore the counter pattern in Code Studio, using the counter pattern to create various types of sprite movements.
Lesson 13: Mini-Project - Animation
In this lesson, the class is asked to combine different methods from previous lessons to create an animated scene. Students first review the types of movement and animation that they have learned, and brainstorm what types of scenes might need that movement. They then begin to plan out their own animated scenes, which they create in Game Lab.
Lesson 14: Conditionals
This lesson introduces students to booleans and conditionals, which allow a program to run differently depending on whether a condition is true. The class starts by playing a game in which they respond according to whether particular conditions are met. They then move to Code Studio where they learn how the computer evaluates boolean expressions, and how they can be used to structure a program.
Lesson 15: Keyboard Input
Following the introduction to booleans and if statements in the previous lesson, students are introduced to a new block called keyDown(), which returns a boolean and can be used in conditionals statements to move sprites around the screen. By the end of this lesson they will have written programs that take keyboard input from the user to control sprites on the screen.
Lesson 16: Mouse Input
The class continues to explore ways to use conditional statements to take user input. In addition to the keyboard commands learned yesterday, they learn about several ways to take mouse input. They also expand their understanding of conditional to include else, which allows for the computer to run a certain section of code when a condition is true, and a different section of code when it is not.
Lesson 17: Project - Interactive Card
In this cumulative project for Chapter 1, students plan for and develop an interactive greeting card using all of the programming techniques they’ve learned to this point.